
Single Sign-On (SSO)
Configure SAML/OIDC single sign-on for your organization's dashboard login.
Organizations can require members to sign in to the Linq dashboard through their own identity provider (IdP) using standards-based SSO (SAML 2.0 / OIDC). This centralizes access control, enforces your IdP’s security policies, and lets you deprovision dashboard access from one place.
SSO covers dashboard login only. It does not affect API authentication — API keys continue to authenticate programmatic requests independently.
Before you begin
Section titled “Before you begin”SSO must be enabled for your organization before it appears in the dashboard. Contact Linq to turn it on, and provide the list of email domains you want to allow (your domain whitelist). Only users whose email address matches an approved domain can be governed by your SSO connection.
Once enabled, an organization admin completes the setup below.
- Go to Organization → SSO in the dashboard.
- Click Manage SSO Configuration Settings. If SSO hasn’t been configured yet, this is where you’ll start.
- Select your identity provider from the list, then follow the provider-specific instructions to activate the connection.
- Choose which login methods to allow — once the connection is active, use the same Organization → SSO page to decide whether members can still sign in without SSO or must go through your IdP. See Sign-in settings below.
Select your identity provider
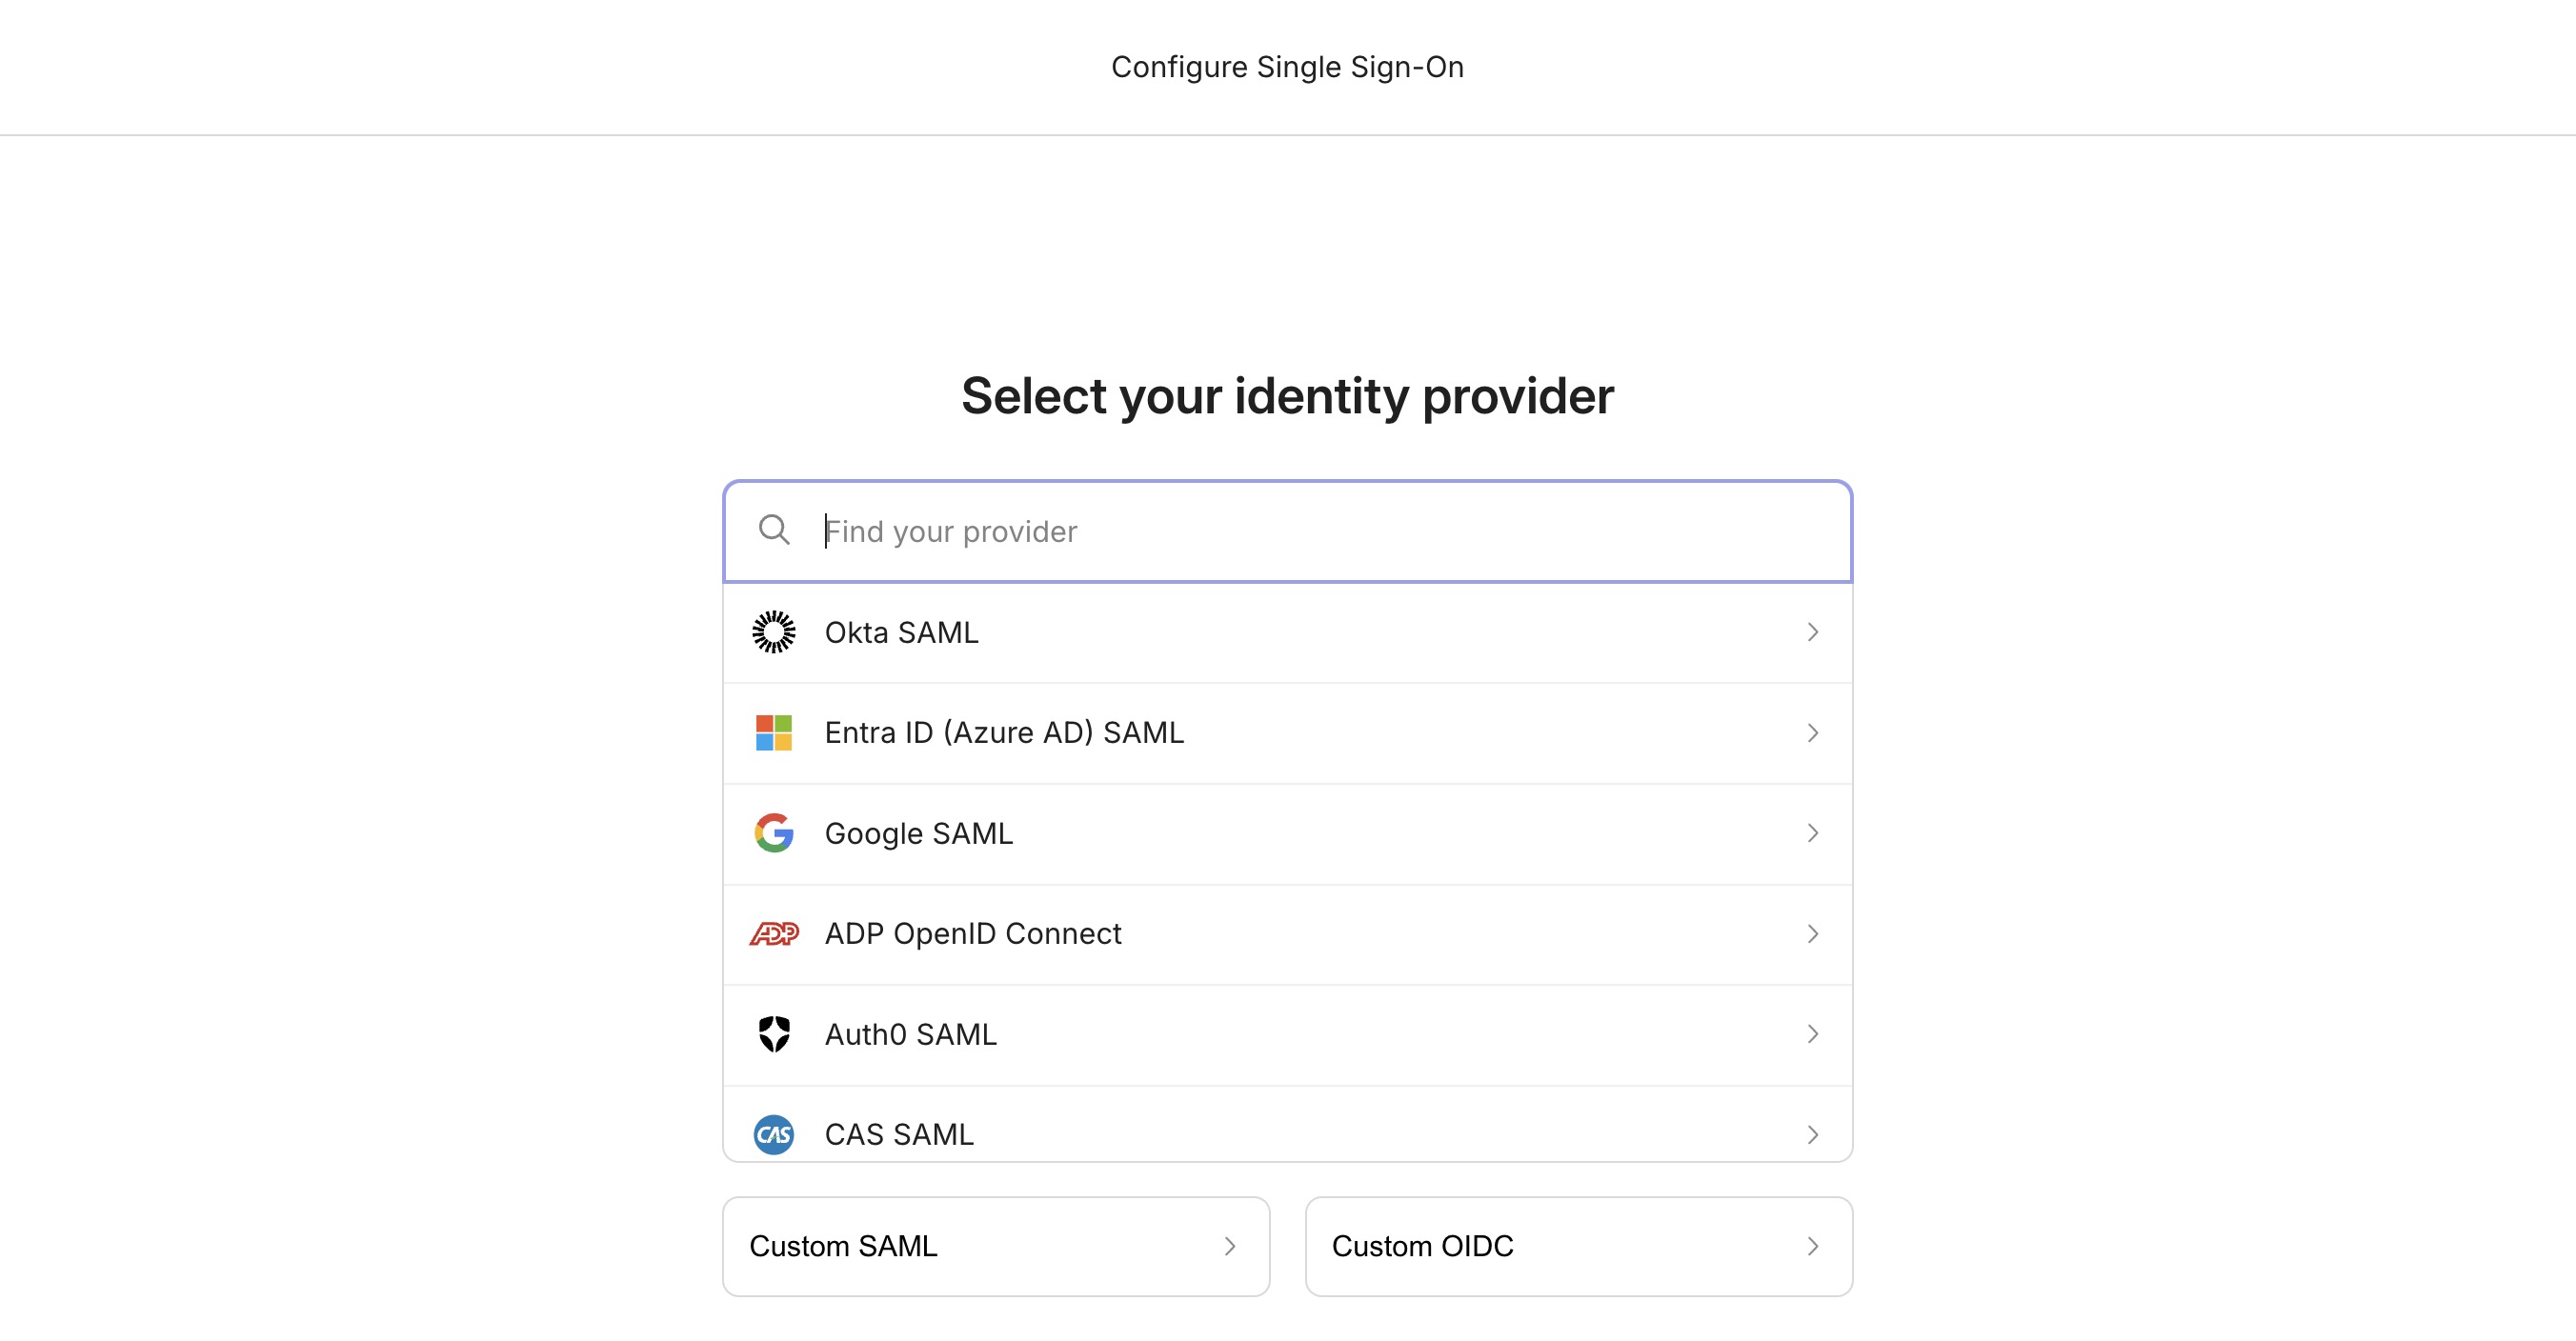
Section titled “Select your identity provider”A wide range of identity providers is supported out of the box — including Okta SAML, Entra ID (Azure AD) SAML, Google SAML, ADP OpenID Connect, Auth0 SAML, CAS SAML, and many more. Search for yours in the provider list, or use Custom SAML or Custom OIDC if it isn’t listed.
Follow the provider steps
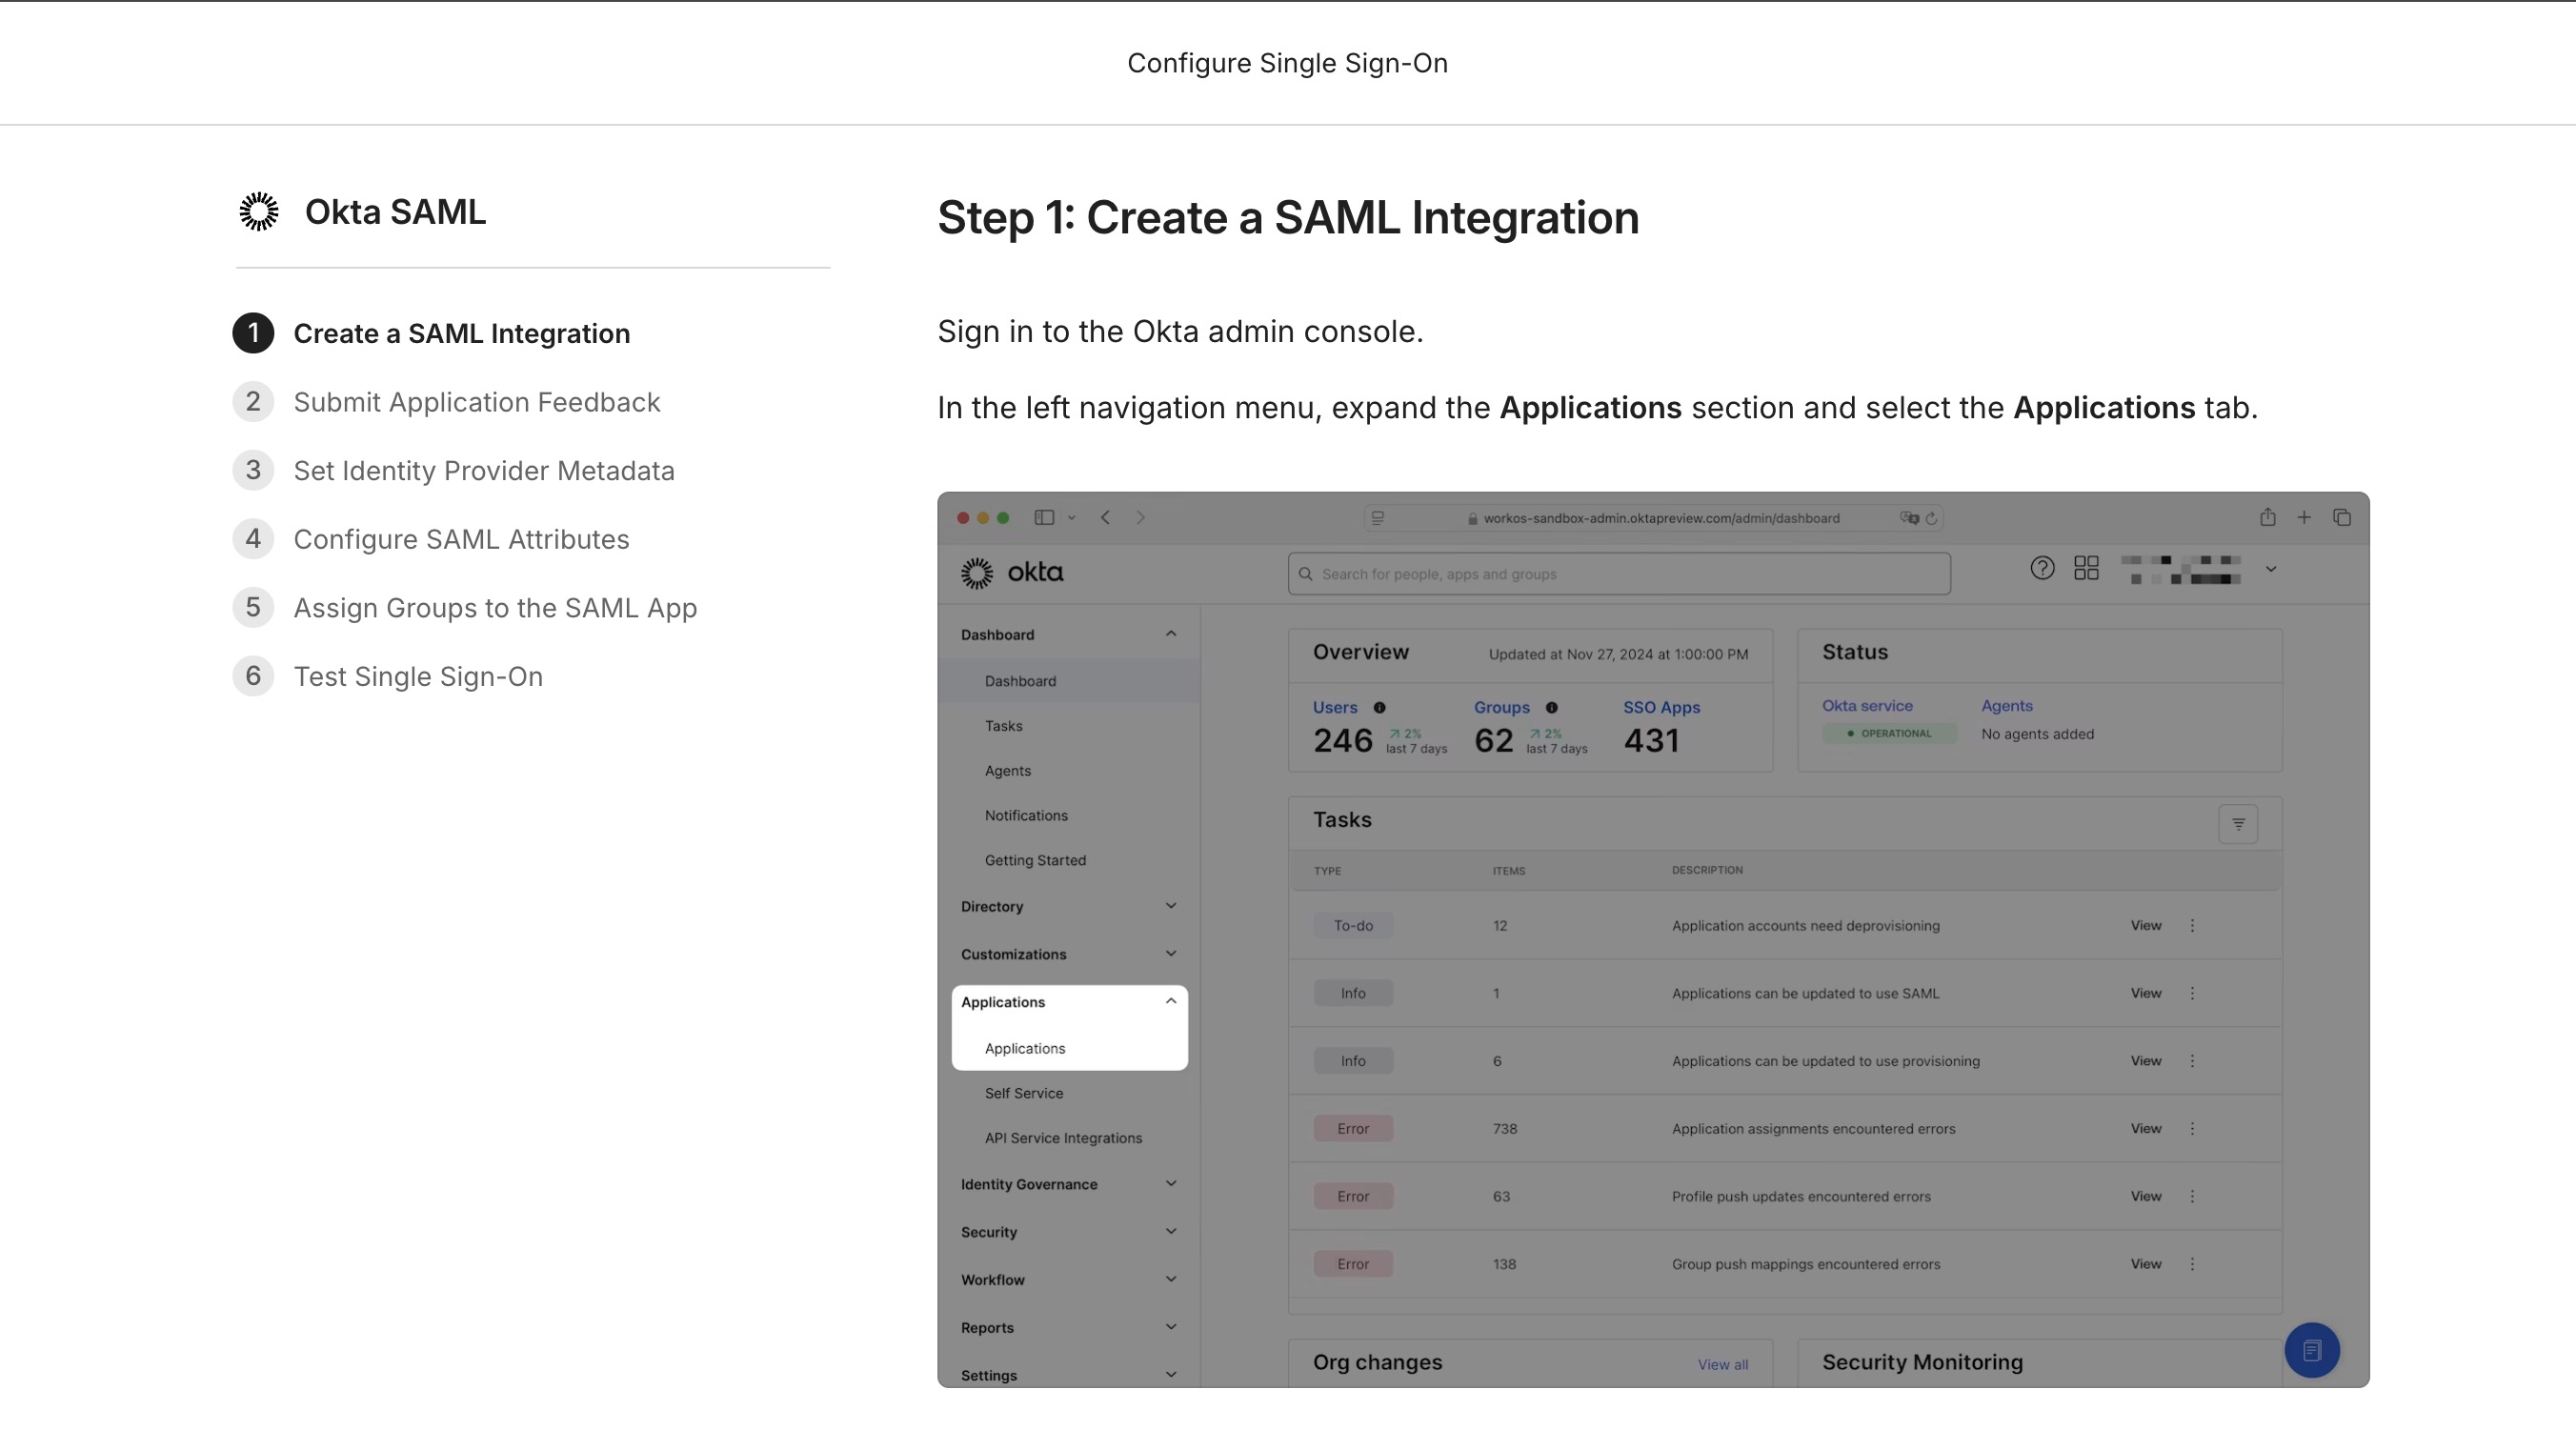
Section titled “Follow the provider steps”Each provider has its own guided, step-by-step instructions — for example, creating a SAML integration, setting the identity provider metadata, configuring attributes, assigning groups, and testing sign-in. Work through the steps for your provider; the wizard walks you through exchanging metadata and certificates between your IdP and Linq.
Once the connection is live, the dashboard shows a Connection activated confirmation with your provider, allowed domains, and certificate validity window:
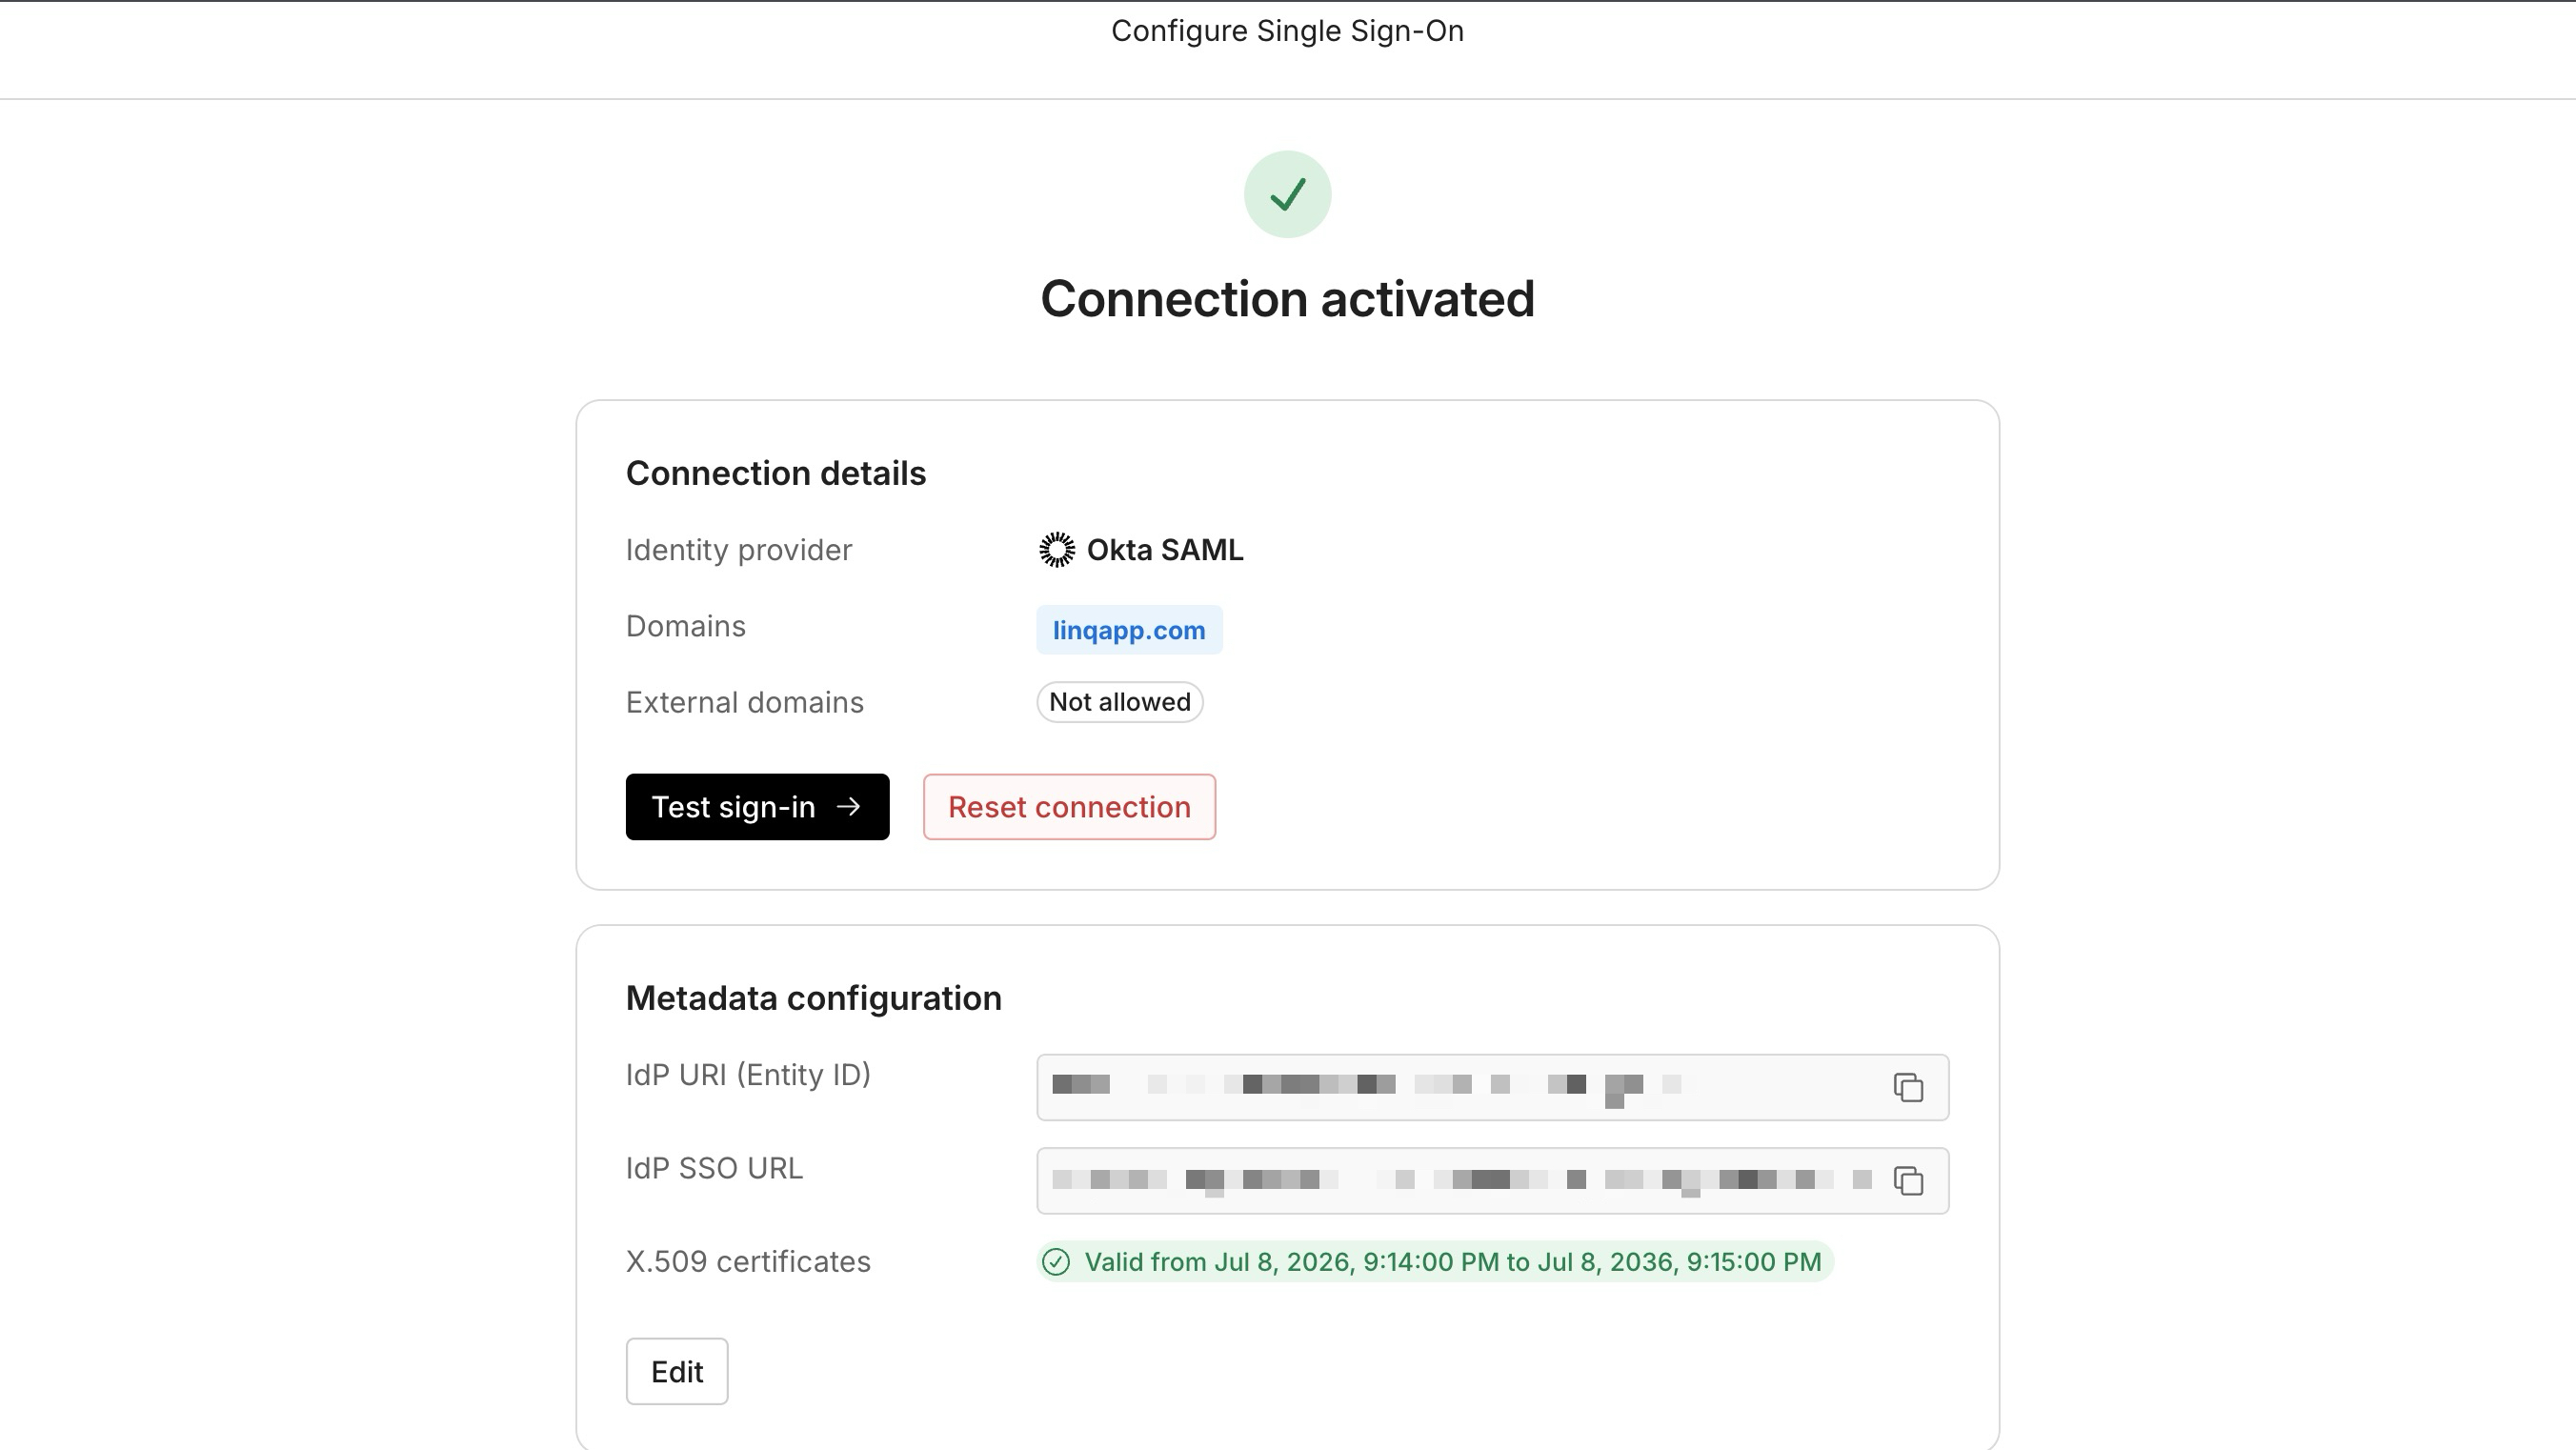
From here you can run Test sign-in to verify the flow end to end, Edit the metadata if your IdP configuration changes, or Reset connection to start over.
Managing an active connection
Section titled “Managing an active connection”Once a connection is active, the Organization → SSO page gives you three things to manage:
Metadata configuration
Section titled “Metadata configuration”The connection details exchanged with your IdP — IdP URI (Entity ID), IdP SSO URL, and the X.509 signing certificate (with its validity window). Use Edit to update these whenever your provider’s metadata or certificate changes, then re-run Test sign-in to confirm the connection still works.
Attribute mappings
Section titled “Attribute mappings”Attribute mappings define how user fields are passed from your identity provider to Linq. You set these up while configuring the connection — the provider-specific instructions walk you through it — so follow those steps during setup rather than mapping fields from scratch here. The following attributes are required, each mapped to the corresponding field from your IdP:
| Attribute name | Typical IdP field |
|---|---|
email |
email |
firstName |
firstName |
lastName |
lastName |
idpId |
NameID |
This panel lets you review the mappings after the fact. If a required attribute is missing or misnamed, sign-in will fail — check here first when troubleshooting.
Sessions
Section titled “Sessions”The Sessions list is an audit log of recent sign-in attempts through your connection, showing the member’s email, name, status (e.g. Success), and timestamp. Use it to confirm SSO is working for your members and to diagnose failed logins.
Sign-in settings
Section titled “Sign-in settings”On the Organization → SSO page, admins control which login methods members can use:
- Allow non-SSO logins — Keep this enabled during rollout so members can still sign in with their existing method while the connection is verified. Recommended during transition.
- Enforce SSO-only — When on, every user from an approved domain must sign in through SSO. Leave it off to allow both SSO and non-SSO methods.
Enforcing SSO logs out existing sessions. As soon as you turn on Enforce SSO-only, any users currently signed in with a non-SSO method are logged out and must re-authenticate through your IdP. Verify the connection with Test sign-in before enforcing.
Best practices
Section titled “Best practices”- Watch certificate expiry. Your IdP signing certificate has an expiration date, visible in the Linq dashboard. Rotate it before it expires to avoid locking members out.
- Restrict domains to internal addresses. Only whitelist domains you control, so external accounts can’t be provisioned through your connection.
- Re-test after IdP changes. Run Test sign-in after any metadata or certificate update on the IdP side before relying on the connection.
- Roll out gradually. Encourage members to sign in via SSO while non-SSO logins are still allowed, then enforce SSO-only once everyone has migrated.
Related
Section titled “Related”- Authentication — API key auth for programmatic requests
- Dashboard — where SSO is configured